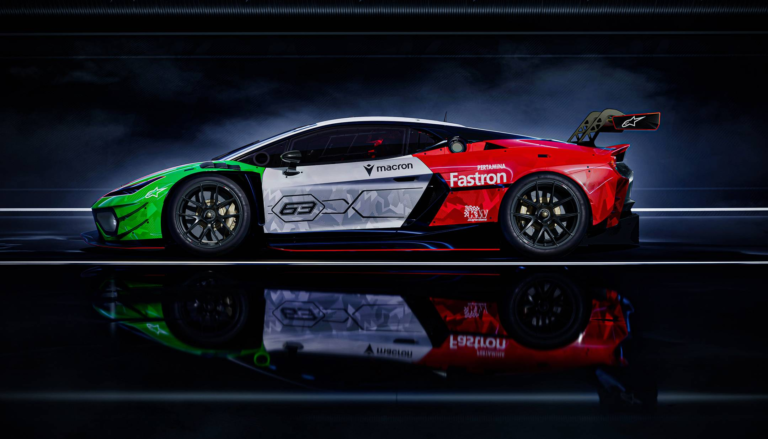
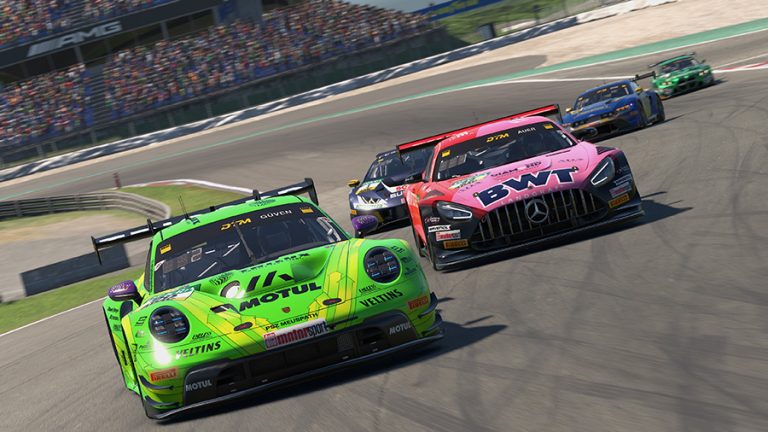
iRacing graphics settings have a bigger impact on how the sim looks than most drivers realize. The default configuration when you first install iRacing is not the best it can achieve, and dialing in the right sliders takes the visuals from average to genuinely impressive. The lighting model is physically accurate, the car models are detailed, and with the correct setup, iRacing holds up well against anything else in sim racing.
Also See
➡️ iRacing Working on New DX12 Graphics Engine
➡️ Why iRacing Feels Like 60hz With Overlays On
This guide covers each major setting, what it actually does, and whether it is worth the frame rate cost. Some sliders have almost no visual impact but can be lowered without losing anything. Others are responsible for most of the visual quality and should be maxed whenever your hardware allows.
Why iRacing Looks Better Than Its Reputation
The criticism that iRacing looks dated usually comes from drivers who have not tuned their settings. The underlying rendering engine uses a physically-based lighting model that reacts to sun position, cloud cover, and time of day. The result is a naturalistic visual style that holds up well when it is properly configured.
A new DX12-based graphics engine is also in development, which will bring a substantial upgrade in visual quality across the board. The current rendering pipeline has continued to improve with each season update. Several recent seasons added meaningful improvements to sky rendering, wet weather effects, and track surface detail.
The Settings That Make the Biggest Difference
Shadow quality is the most visible iRacing graphics setting of them all. At high, shadows have soft, natural edges that shift through the session as the sun angle changes. At medium or low, they become blocky and harsh, which makes the whole scene feel flat. If you can only run one setting at maximum, this is it.
Motion blur, when set to ultra, adds a natural trail to objects moving quickly relative to the camera. This is how real racing footage looks, and it is the main reason that well-configured iRacing screenshots look so good. Some drivers prefer to turn it off during races because it can obscure detail in fast sections, but for screenshots and video capture, ultra is the right choice.
Road reflections add a subtle wet-surface sheen to the track in certain lighting conditions. The effect is most visible at tracks with darker asphalt and under certain sun angles. Because the performance cost is low, there is no real reason to have this off.
Car detail controls the polygon count used to render other cars on track. At max, opponent cars look as detailed as your own car does. Because this setting scales with how many cars are visible, large grids put more pressure on your hardware. Stepping down one level from max is a reasonable trade-off on older systems.
Track textures is a resolution setting for the road surface, curbs, and surrounding scenery. At high, surfaces are crisp up close and hold their quality in replay footage. This setting pulls more VRAM, so systems with 6GB or less may need to step it down.
What to Lower When You Need More Frames
Crowd density has almost no impact on how the racing looks from inside the car. Grandstand spectators are background elements, and at the distances they are typically viewed from, reducing crowd detail is invisible during normal driving. This is the first thing to drop when hunting for extra frames.
Pit crew detail works the same way. Unless you regularly watch pit stops up close in replay mode, lowering this setting costs nothing during actual races. Medium is a reasonable starting point for most drivers.
Particle effects control tire smoke, debris, and spray. In a heavy rain race with multiple cars on track, maxed particle settings add up quickly. Dropping to medium has minimal impact on the visual experience from inside the cockpit.
Mirror quality is worth considering if you are running more than one mirror panel. Each mirror is rendered separately, so wide setups with multiple mirrors benefit from stepping this down. For single-screen setups using one mirror, keeping it at high is fine.
Anti-Aliasing and Shimmering
iRacing uses MSAA to smooth edges on track objects, fencing, and cars. At 1080p, 4x MSAA makes a noticeable difference in how clean everything looks. At 1440p or higher, the increased pixel density already handles much of the aliasing, so lower AA settings work well without sacrificing visual quality.
The shimmering reduction setting applies a temporal smoothing pass that addresses the flickering you see on fine geometry at a distance, particularly fencing and grandstand structures. Turn it on. The performance cost is minimal and the improvement in visual stability is real, especially at tracks with complex perimeter fencing.
A Baseline Setup for Mid-Range Hardware
The settings below work well at 1440p on mid-to-high-end hardware from the last few years. At 1080p you may be able to push car detail higher. At 4K, stepping shadows down to medium can recover the headroom needed to stay above 60fps consistently.
- Shadow quality: High
- Car detail: Max (or High on large grids)
- Track textures: High
- Motion blur: Ultra (or Off, personal preference)
- Road reflections: On
- Crowd density: Medium
- Pit crew detail: Medium
- Particles: Medium
- Mirror quality: High (one mirror) or Medium (multiple mirrors)
- Anti-aliasing: 4x MSAA
- Shimmering reduction: On
iRacing does not need to look dated. Shadow quality, car detail, and motion blur do most of the work. Get those right, then adjust crowd and particle settings until you have the frame rate headroom you need for clean, consistent racing.