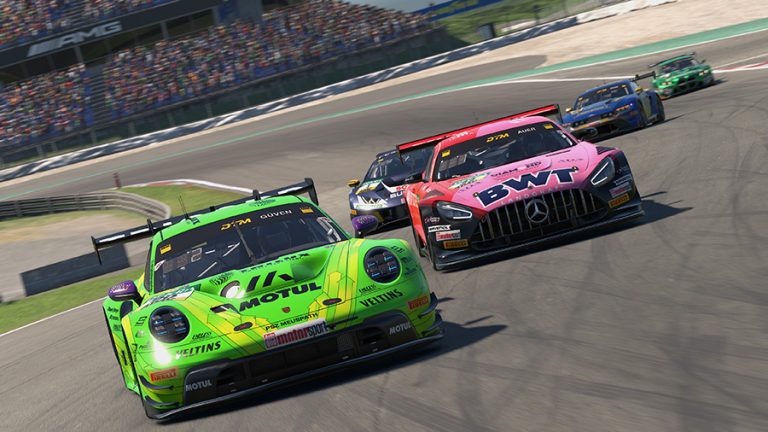
iRacing’s AI can be wildly good fun: they defend, they commit to side-by-side, they draft-weave on the front straight, they flash headlights, and they’ll absolutely punt you if you chop their nose. With a little setup work, you can turn solo sessions into convincing championship stories—complete with teammates, villains, and mid-pack chaos merchants you’ll “recognize” from race to race.
This guide condenses a lot of hard-won community wisdom into one coherent playbook: how to build a field you’ll care about, which sliders to touch (and why), common pitfalls, and an example baseline you can drop into most GT fields today.
Also See:
➡️All Things iRacing AI
Why AI Racing Works So Well (When You Set It Up Right)
- Consistency with personality: Out of the box, AI are fast and clean—but a bit too “perfect.” Tuning aggression, optimism, and smoothness injects human-like variance without turning every race into a wreckfest.
- Reps that mirror real pressure: Door-to-door battles through fast kinks, overlapped braking into hairpins, off-line cornering to defend—AI will force you to practice all of it.
- Campaign energy: A persistent roster turns names and liveries into characters. Over time you learn who dives, who defends, who melts under pressure, and who needs a balance-of-performance bonk.
Step 1: Build a Custom Roster You’ll Actually Care About
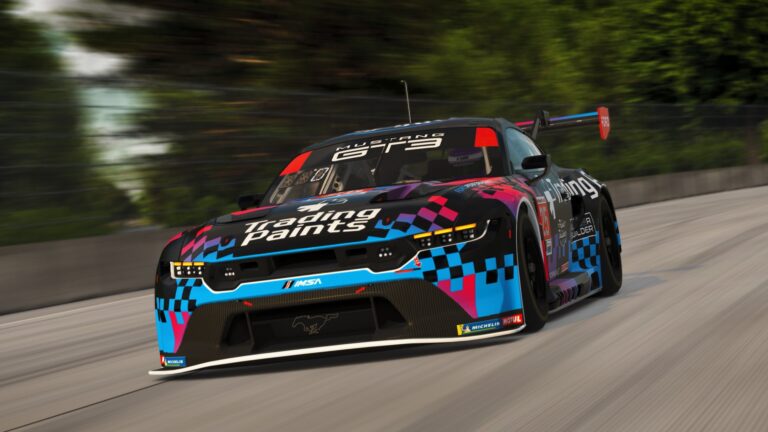
Give yourself a “team.” Add 1–2 teammates with matching liveries and numbers, then fill the grid with fictional “factory” and “privateer” outfits. Use manufacturer-typical numbers (it’s a tiny detail that pays off in immersion).
Name and pace identity. Create favorites, underdogs, and wildcards. You’ll start to recognize them in your mirrors and plan around their tendencies.
Pro tip (file management): Driver rosters are plain JSON files on disk (e.g., Documents\iRacing\airosters\). Keeping versions makes it easy to iterate, archive seasons, or share with friends.
Step 2: Give Drivers Personalities (Aggression, Optimism, Smoothness)
- Aggression & Optimism (~75+ for most of the field): Higher values make AI attack more, defend robustly, and occasionally overreach. This transforms parades into races.
- Smoothness (mix it on purpose): Lower smoothness introduces occasional oversteer snaps or traction mistakes—exactly the stuff that creates mid-pack storylines. Make a handful of drivers notably low here so you have to manage unpredictability around them.
- Age (advanced spice): Increasing a few drivers’ “age” slightly delays their oversteer corrections. Sprinkling a couple of “reaction-limited” veterans into large fields can create believable ebb-and-flow without staged wrecks.
Don’t homogenize everyone. If every slider is the same, the field acts the same. Variety is realism.
Step 3: Pace Spread That Feels Like a Real Grid
- Fixed Skill Range works best: Try a 20–25 point band (e.g., 70–95) across the roster. In many GT fields this yields roughly 2.0–2.5s spread over ~30 cars—plenty of action without cartoon gaps.
- Make a few outliers: One or two hotshoes near the cap; a couple of cabooses at the low end. You’ll learn to measure your stint by whether you can hang with the fast two and clear the tail cleanly.
Why not Adaptive? Rubber-banding vibes can creep in. Fixed ranges are predictable, transparent, and race-to-race consistent.
Step 4: Lock the Weather (Seriously)
AI pace can swing a lot with track temp and clouds. For league-like consistency:
- Use Fixed Weather for the session and season.
- If you do vary conditions, do it gently between events (small ambient/track adjustments, same time of day).
- Some cars handle variable conditions better than others; when in doubt, keep it stable.
Step 5: Racecraft Settings That Create Authentic Fights
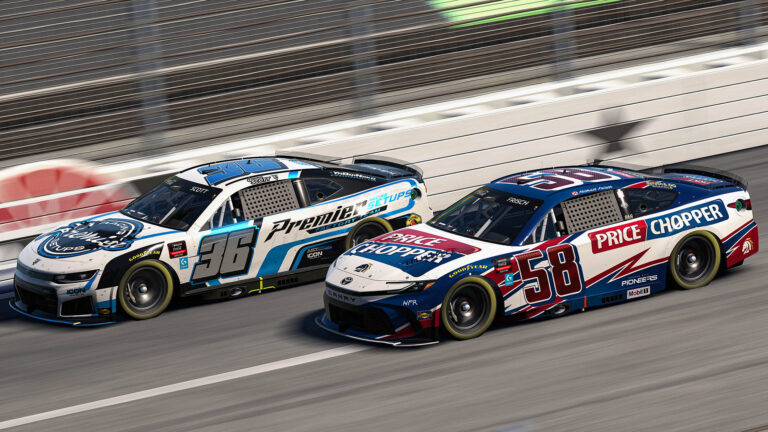
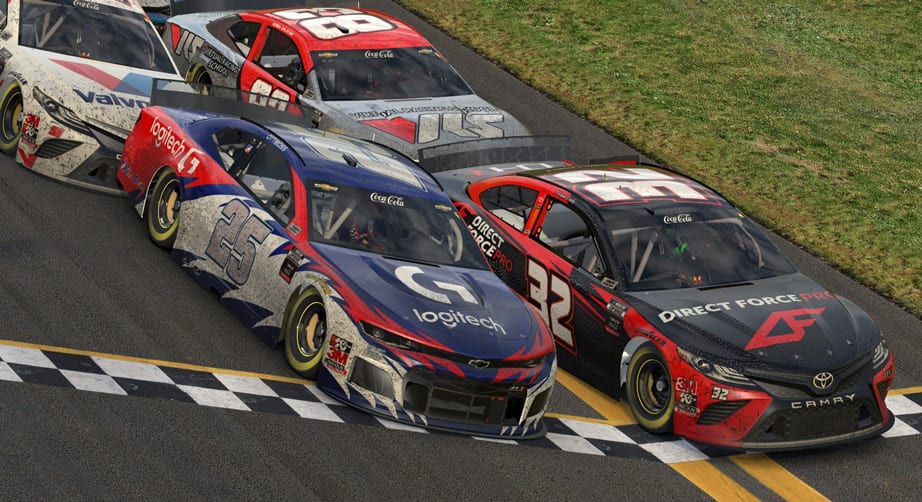
- Field size: 28–40 is a sweet spot for most GT grids—constant traffic without perpetual chaos.
- Start type: Standing starts can produce pile-ups with low-smoothness drivers; rolling starts are kinder while you tune the field.
- Cautions: For sprint practice, consider local yellows only. For endurance vibes, allow full-course cautions to reshuffle and stress-test restarts.
- Damage: For learning or setup work, disable damage so you can keep running after contact and maximize reps. For race night, turn it back on so choices matter.
Known AI Quirks (and How to Drive Around Them)
- Baseline downforce bias: AI often run higher-downforce baselines. If you load a trimmed setup, expect to be quicker down the straights. Accept it or nudge your wing back up to match.
- Corner archetypes:
- Big stops: AI can brake too early—easy pass zones include Spa Bus Stop, Hockenheim hairpin, Fuji T1.
- Short entries: AI sometimes send it into places like VIR T3 or Suzuka T1/2; leave margin for surprise noses.
- High-commitment corners: In a few combos (e.g., high-downforce single-seaters), they may carry unusual pace through certain long-load corners (think Road America Carousel). Adjust pass plans accordingly.
- Track limits exploitation: Don’t expect AI to replicate “stretch the limits” human lines at tracks where abuse is meta. Winning there may hinge more on exits and traffic craft than raw apex speed.
- Pit behavior: In some custom scenarios, a subset of AI may short-fuel or miss predicted stops. If you’re building a long championship, test one full race distance before committing the season.
Session Templates You’ll Use Again and Again
1) Sprint Rep Builder (15–20 min races, 3–5 laps):
- Goal: practice cold tires, first-lap fundamentals, and decisive passes.
- Settings: medium aggression/optimism; mixed smoothness; cautions off; damage on for consequences.
2) Stint Practice (35–45 min, 1 stop):
- Goal: pit entry/exit, traffic management, tire conservation.
- Settings: fixed weather, damage on, field size 28–32, fuel load to force 1 stop.
3) Enduro Lite (75–90 min, 2–3 stops):
- Goal: tire cadence, safety-first overtakes, yellow flag restarts.
- Settings: enable full-course cautions, sprinkle a couple of low-smoothness “troublemakers,” keep weather fixed.
Sharing & Editing at Scale
- Collections for paints/rosters: You can favorite community collections of full fields (driver names, liveries, baseline parameters) and then tweak to taste. It’s a fast way to get “TV-ready” grids.
- JSON workflows: Because rosters are just JSON, batch-editing sliders, numbers, and names is painless once you’ve built your first season. Keep a clean “template” and duplicate per series.
- Third-party helpers: Several community utilities let you edit AI rosters/seasons outside the sim UI with bulk operations. They’re great for setting ranges (e.g., “smoothness 20–60 across these 12 drivers”).
Multiclass & Ownership Notes
- You don’t need to own every car to populate a multiclass grid. This makes IMSA/WEC-style practice far more accessible.
- Balance the classes: Use tighter skill bands for faster classes and slightly wider for the slowest. It creates believable traffic deltas without constant blue-flag pileups.
Example Baseline (Drop-In Starting Point for GT Fields)
Roster personality mix (30 cars):
- 6 frontrunners: Skill 90–95, Agg 80–90, Opt 80–90, Smooth 50–70
- 14 midfielders: Skill 78–89, Agg 70–85, Opt 70–85, Smooth 30–70
- 8 tail-enders: Skill 70–77, Agg 65–80, Opt 65–80, Smooth 10–50
- 2 chaos agents: Skill 75–82, Agg 85–95, Opt 85–95, Smooth 0–15 (watch your mirrors)
- Sprinkle 2–3 “older” drivers for delayed saves and occasional bobbles.
Global session settings:
- Fixed skill range enabled (e.g., 70–95 total band)
- Weather fixed (avoid large temp swings; keep time-of-day stable)
- Damage on (races), off (learning/roster tuning)
- Field size 30–36; rolling starts for big grids
Track pack sanity checks (before Season Week 1):
- Test a 10-lap race at: Spa (Bus Stop), Hockenheim (Hairpin), VIR (T3), Road America (Carousel), and one street circuit.
- Verify passability, pit behavior, and that your trimmed setup isn’t producing hilariously easy straight-line passes versus baseline-aero AI.
Driving the AI Like They’re People (Because They’ll Drive You Like One)
- Earn overlap early. If you’re half-hearted on entry, they’ll turn to the apex and you’ll both be sad.
- Plan exits, not dives. Big-stop passes are there, but the most reliable gains come from exits where AI lift early or carry aero-biased lines.
- Respect “their” line in fast complexes. If you’re not alongside by turn-in, live to fight the next zone.
- Practice alternate lines on purpose. Run high at T1s, late apex a hairpin, trail less and prioritize undercut exits. AI will make you prove these tools.
Troubleshooting & Tuning Notes
- Races feel too sterile: Increase aggression/optimism across the board by +5; lower smoothness for 6–8 drivers by −10; widen skill spread by +5.
- Diving chaos everywhere: Reduce optimism −10, raise smoothness +10 for the worst offenders; tighten the skill spread by −5.
- You’re unbeatable on straights: Add a click of wing to your set, or accept the “driver advantage” and shift passing to braking/exit zones.
- Weather nukes parity: Lock it down. If you want variety, pre-bake two conditions and alternate per round.
Quick-Start Checklist
- Build/favorite a believable GT field with matching liveries and numbers
- Set Fixed Skill Range (20–25 points), Aggression/Optimism ~75 average
- Mix Smoothness (a few low, a few high), add 2–3 “older” drivers
- Fix the weather (same temps, time-of-day)
- Sanity-check five tracks for passability and pit behavior
- Pick a session template (Sprint / Stint / Enduro Lite) and go race
Dialed right, iRacing’s AI becomes more than sparring partners—it becomes a championship you’ll feel invested in. Give your grid names and personalities, keep the weather steady, tune the sliders with intent, and you’ll get the kind of elbows-out, fair-but-firm racing that builds racecraft fast… and tells great stories along the way.