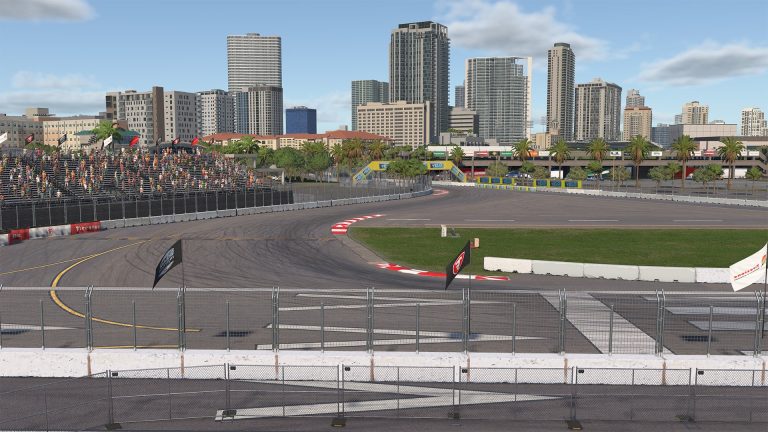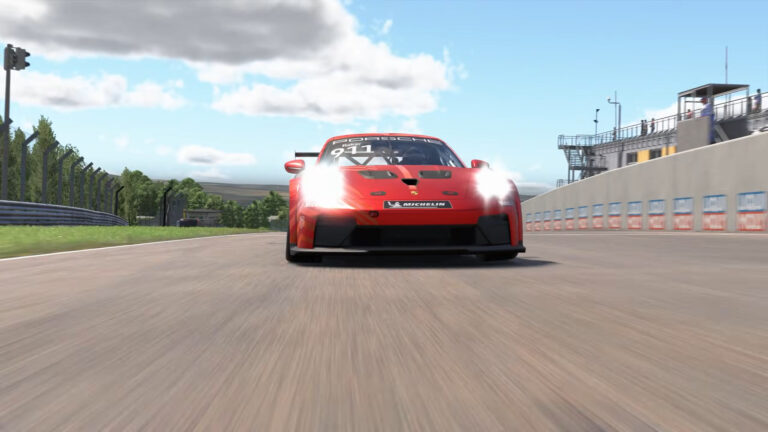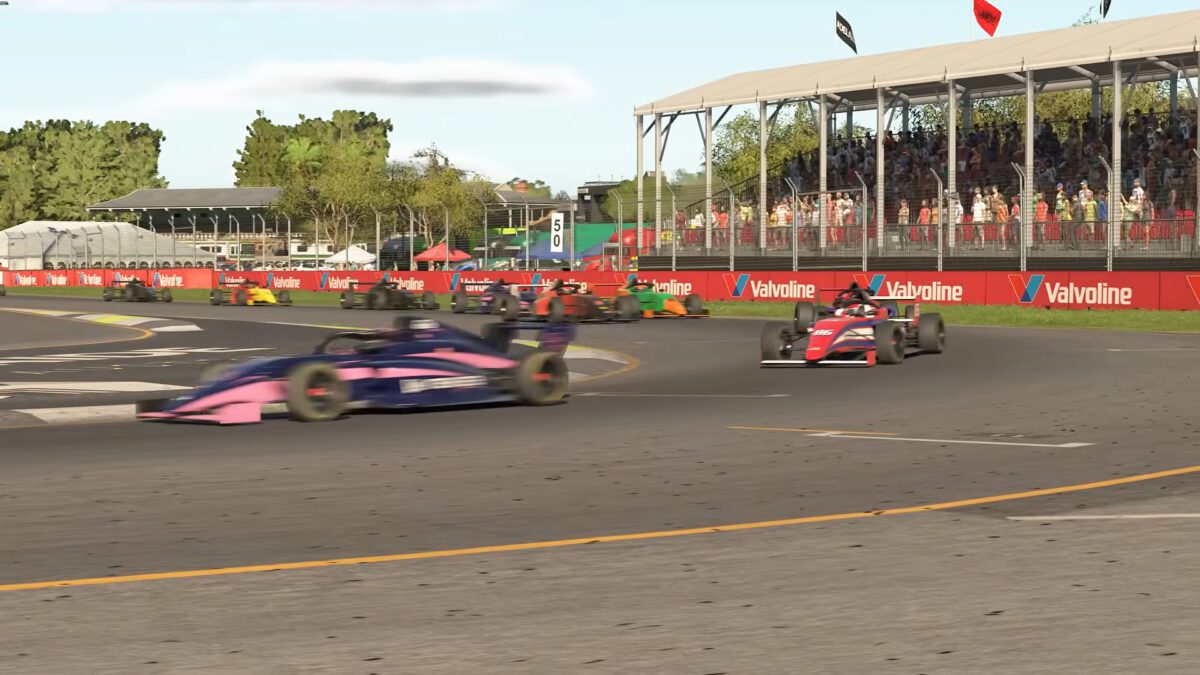
Mastering Adelaide requires a deep understanding of every kerb and concrete barrier on this legendary 3.219 km street circuit. Because the modern iRacing scan captures the track with millimeter precision, small details in the road surface can make or break your lap time. This 14-turn layout is a physical and mental test that rewards bravery but punishes greed. Whether you are driving a Supercar or the new Porsche 911 Cup (992.2), this turn-by-turn guide is your key to Mastering Adelaide in the 2026 Season 1 build.
The Senna Chicane: Turns 1, 2, and 3
The opening complex is the most famous section of the track. To find speed here, you must be willing to launch the car, but you must also maintain stability for the exit.
- Turn 1: Heavy braking after the front stretch. You must attack the first right-hand kerb aggressively. Aim to put your inside tires on the red and white paint, but avoid the high yellow sausage kerb which can launch the car into a roll.
- Turn 2: A quick left-hand flick. The car will be light after Turn 1, so ensure you land straight before turning. Cutting this kerb is essential for a good line into the next phase.
- Turn 3: A tight right-hander that leads onto Wakefield Road. Focus on a late apex here. If you get on the power too early, the rear-heavy weight of most cars will cause understeer directly into the outside wall.
The Technical Middle Sector: Turns 4 through 7
After the high-speed blast up Wakefield Road, the track transitions into a series of technical 90-degree corners through the city streets.
- Turn 4: A sharp right-hander. Look for the 100-meter board as your braking marker. Avoid the inside entry kerb, as iRacing has implemented a slowdown penalty for drivers who cut this corner too deep.
- Turn 5: A fast left-hand sweep. Maintain a steady throttle to keep the chassis balanced.
- Turn 6 & 7: Two consecutive 90-degree turns. These are “stop-start” corners. Use a “point and squirt” technique to maximize your exit speed toward the back half of the circuit.
The Infamous Turn 8 Sweeper
This is the most dangerous corner on the track. Mastering Adelaide is impossible without conquering this high-speed “canyon of concrete.”
- Turn 8: A flat-out right-hand sweeper for high-downforce cars, and a slight lift for Supercars. You must clip the inside apex kerb with your right tires. Be extremely careful of the “wall suction” effect; the air turbulence near the concrete can pull the car into the barrier. If you touch the outside wall on exit, your race is likely over.
The Back Straight and Hairpins: Turns 9 through 14
The final sector features the longest straights on the track, providing the best opportunities for overtaking.
- Turn 9 (Stag Corner): A technical right-hander leading onto the short Bartels Road straight.
- Turn 11 (Dequetteville Hairpin): The heaviest braking zone on the circuit. You will be arriving at nearly 250 km/h down the Brabham Straight. Look for the “150” brake marker on the fence. Trail brake deep into the apex to get the car rotated for the exit.
- Turn 12 & 13: A quick chicane through the Victoria Park section. Stay off the inside kerbs here, as they are notoriously bumpy and can unsettle the car just before the final corner.
- Turn 14 (Mistral Hairpin): The final right-hand turn. Be progressive and patient with the throttle. If you spin the tires here, you will lose significant time all the way down the front stretch to the finish line.