Miami Autodrome is a technical masterpiece that requires a unique blend of high-speed commitment and low-speed precision. This 5.41 km counter-clockwise circuit winds around the Hard Rock Stadium, offering 19 challenging corners. Because this is a semi-permanent venue, the track surface varies significantly, making a Miami Corner Guide essential for anyone looking to master the Florida heat. Whether you are in a Formula 1 car or a GT3, here is how to navigate every turn.
Turns 1 – 3: The Stadium Start
The lap begins with a massive overtaking opportunity at Turn 1. This is a 90-degree left-hander that rewards late braking.
- Turn 1: Aim for a late apex to maximize your speed through the following complex. Be careful not to overshoot, as the runoff is asphalt but will ruin your momentum.
- Turns 2 & 3: These flowing right-handers require a steady throttle. You want to stay as far to the right as possible at the exit of Turn 3 to set up the high-speed section that follows.
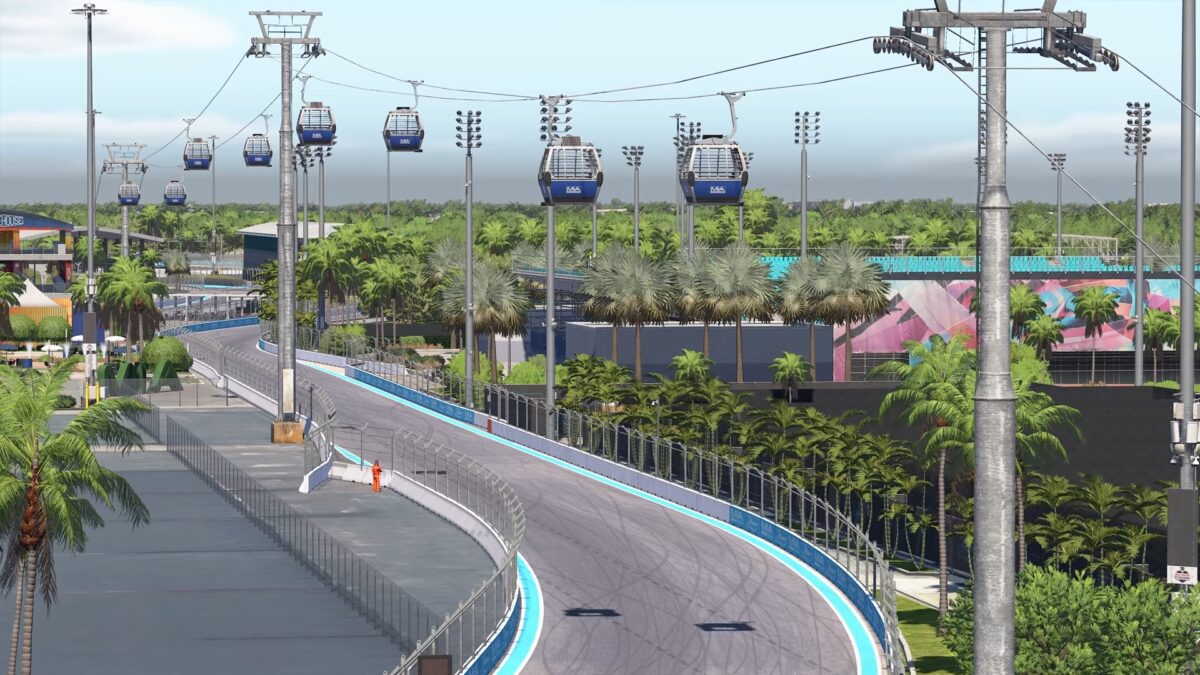
Turns 4 – 8: The Marina Flow
This is one of the most scenic parts of the track, passing the famous “fake marina.” It is also one of the fastest.
- Turns 4, 5, & 6: A high-speed “esses” section. Precision is key here; if you miss one apex, you will be out of position for the rest.
- Turns 7 & 8: These are long, sweeping left-handers. In high-downforce cars, these are nearly flat out. Focus on a smooth steering arc to avoid scrubbing off unnecessary speed.
Turns 11 – 13: Technical Precision
After a blast down the first long straight, you arrive at Turn 11. This is a critical braking zone.
- Turn 11: This sharp left-hander is a prime passing spot. Brake hard and aim for a tight apex.
- Turns 12 & 13: A quick right-left transition. You must be patient with the power here. If you spin the tires at the exit of Turn 13, you will struggle to carry speed into the most technical part of the track.
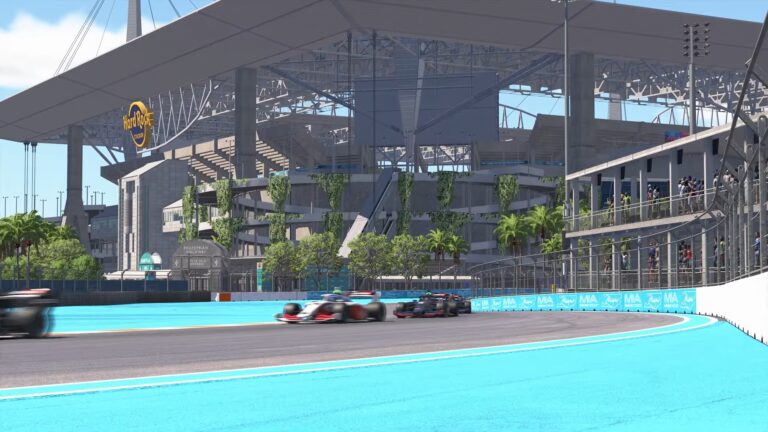
Turns 14 – 15: The Mistress of Miami
Every Miami Corner Guide must highlight this section. This is the uphill chicane that passes under the highway flyovers. It is incredibly narrow and unforgiving.
- Turn 14: Approach this uphill with your car positioned to the far right.
- Turn 15: You must clip the inside kerbs to keep the car straight, but hitting them too hard will launch you into the concrete walls. This is a low-speed, high-stakes section where many races are won or lost.
Turns 16 – 19: The Drag Strip and Finish
The final sector is all about top speed and the massive 1.28 km back straight.
- Turn 16: A tight left-hander that is the most important corner on the track. Your exit speed here determines your top speed for the entire back straight.
- Turn 17: A hairpin at the end of the long straight. This is the best overtaking spot on the circuit. Expect plenty of dive-bombs here during official races.
- Turns 18 & 19: Two quick left-handers that lead you back onto the pit straight. Stay close to the pit wall on exit to shorten the distance to the line.